Have you heard about Nextion Display? Nextion allows you to craft awesome interfaces, even if your coding level is “hello world!”. Its awesomeness doesn’t end up here. It can work with Arduino and all versions of Raspberry Pi.
This tutorial will show you how to add a Ubidots button to your Nextion Display Interface

Requirements
Description
The logic behind activating a Ubidots button in your Nextion Display is quite simple. When the button is pressed, a variable in Ubidots changes. If the button is on, the variable will have the value of 1, else 0.
We recommend following the guide How to setup the WiFi connection of your Raspberry Pi, and also learn how to connect to it through the SSH terminal.
Setup
- Download the Ubidots Nextion file.
- Copy the file named Nextion.HMI to the micro SD card. (The memory must not contain any other files and must be formatted to FAT32).
- Good. Put the micro SD card inside the Nextion micro SD port.
- 4.Power the Nextion display and wait until the file is updated then extract the micro SD
- Connect the Nextion display to the Raspberry Pi.
- Now, wire up your Raspberry Pi according to this table:
| Nextion display | Raspberry |
|---|---|
| 5V | 5V |
| TX | RX |
| RX | TX |
| GND | GND |
- Turn on your Raspberry Pi and wait a few minutes until it boots up.
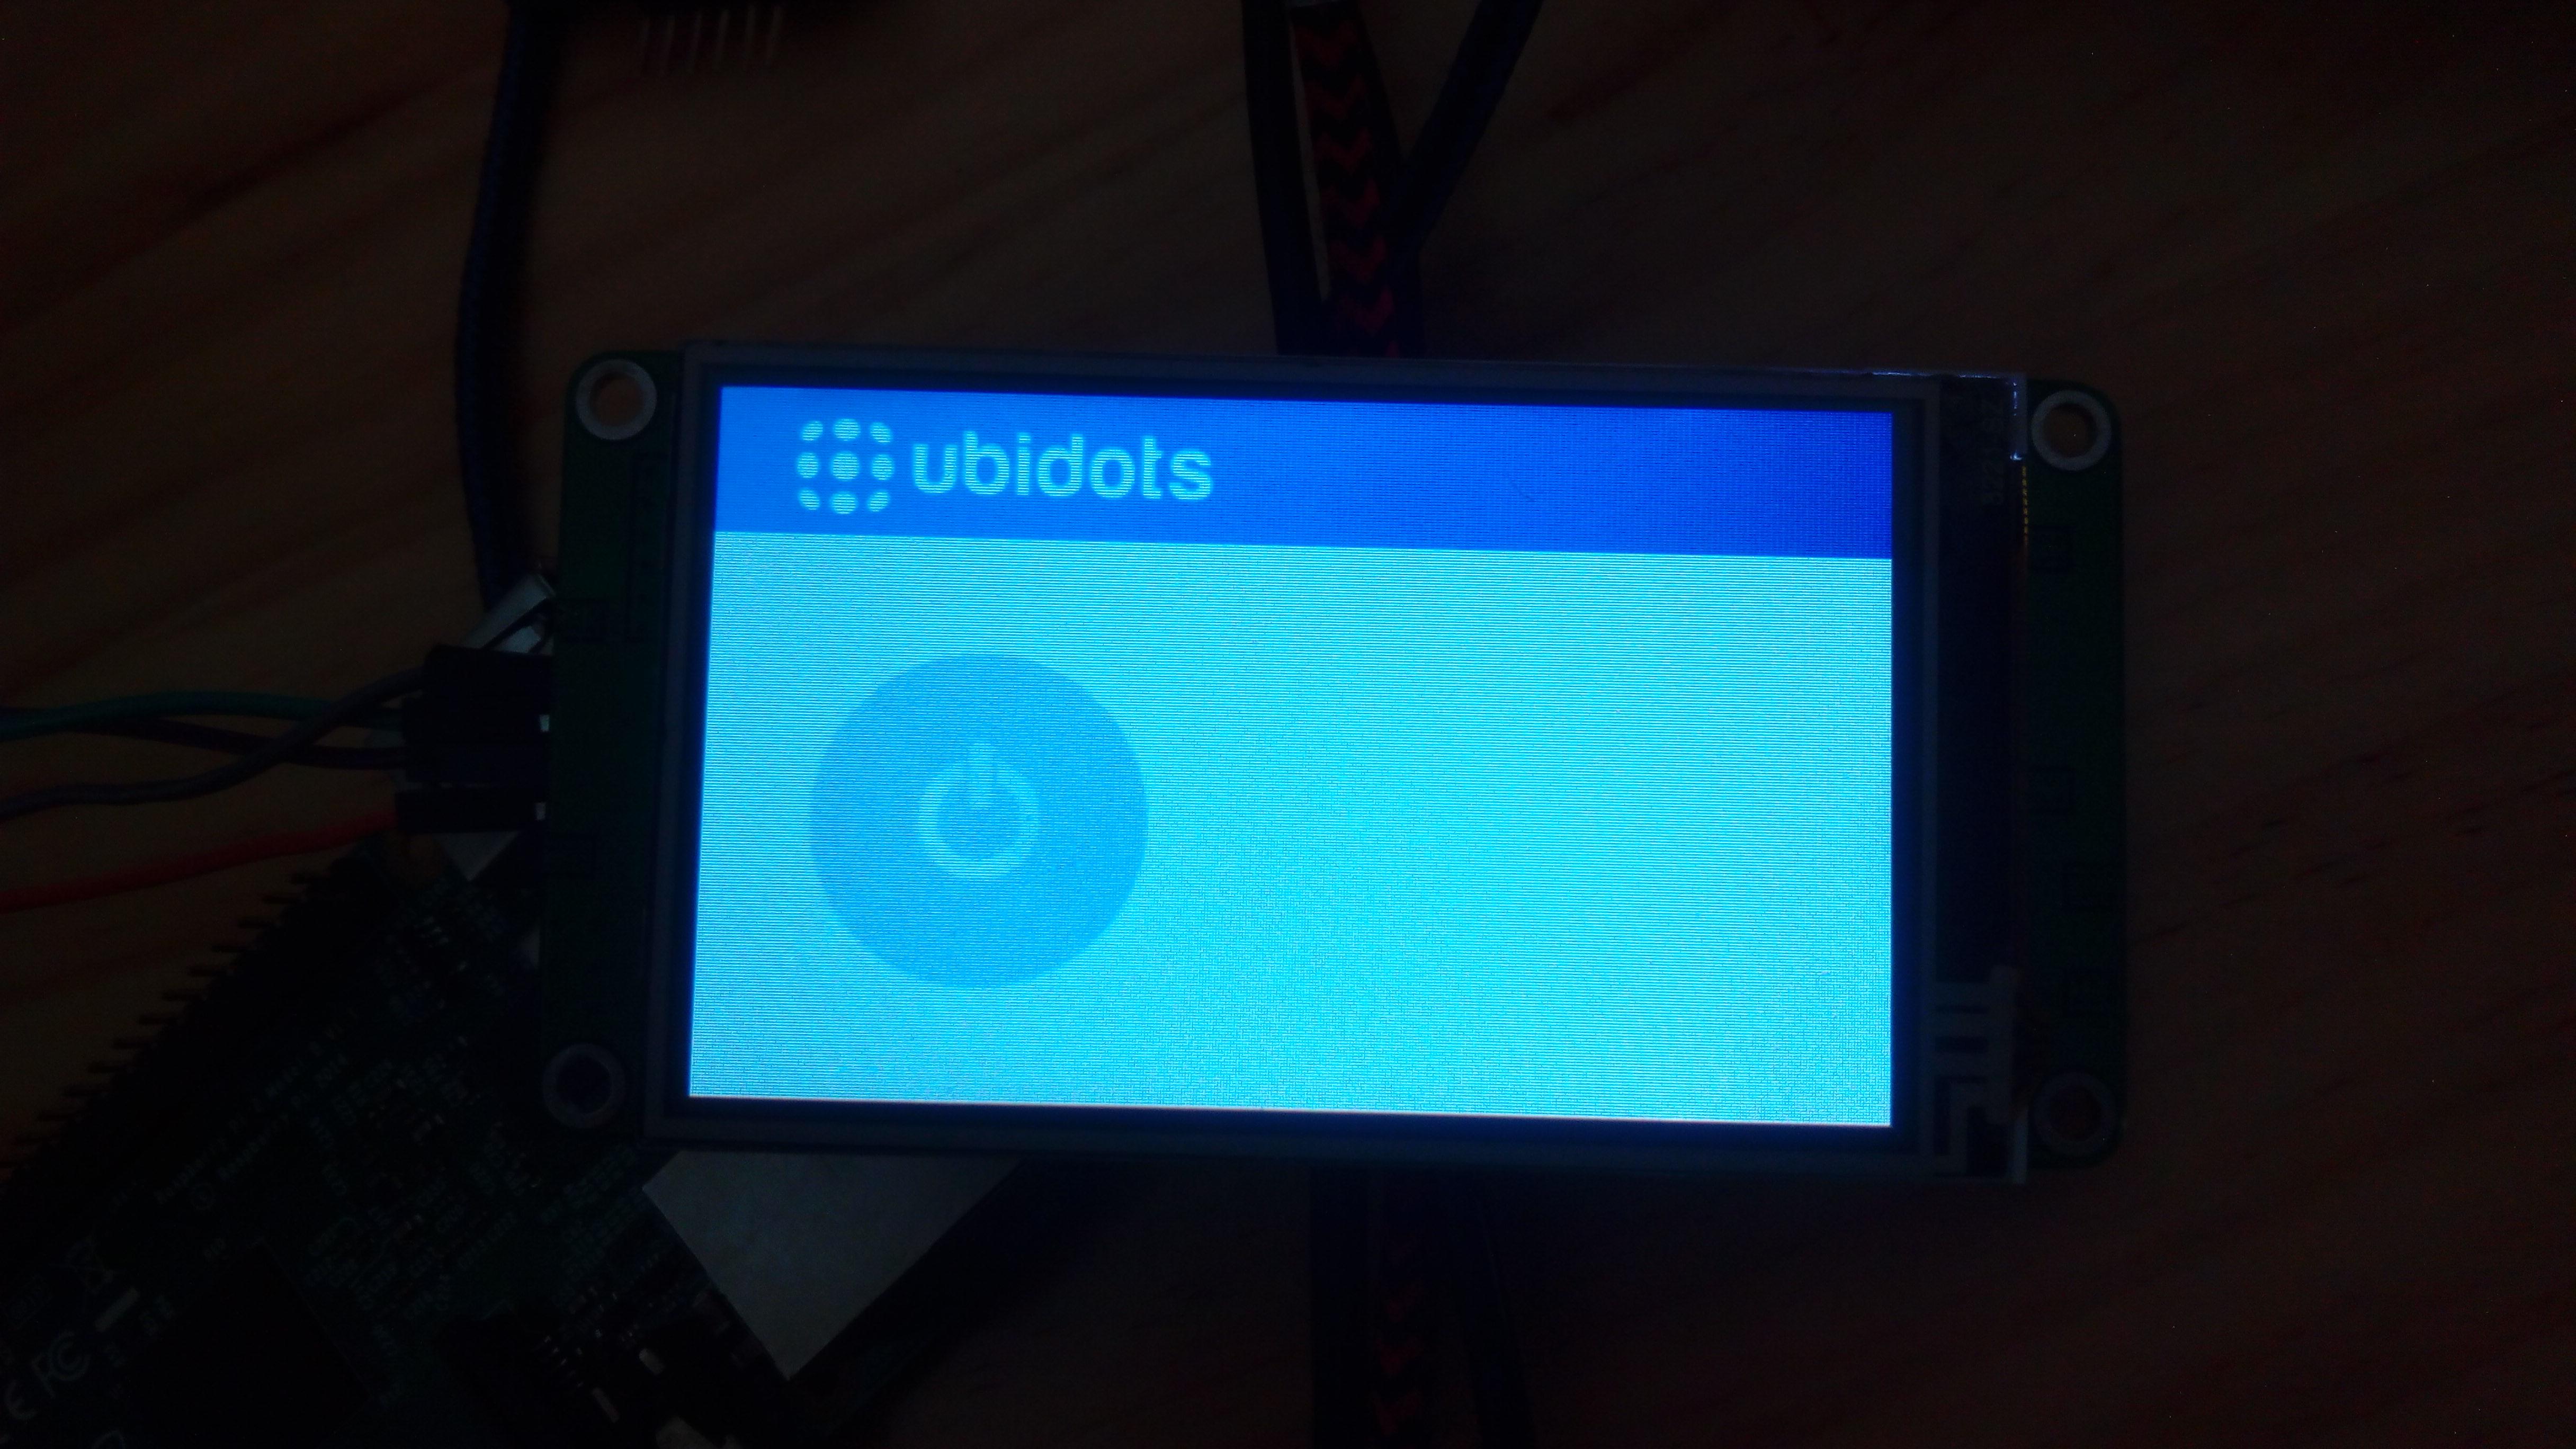
Voila! Now you should get something like this:
Because the Raspberry uses TX and RX also as a way to access the shell, we need to disable this option so the Nextion can use these pins to communicate with the Raspberry. To do so, just follow these steps:
-
Connect to the Raspberry through SSH.
-
Copy and paste this in the Raspberry terminal:
sudo systemctl stop serial-getty@ttyAMA0.service
Well done. You shouldn’t see any line about ttyAMA0 when entering this command:
ps aux | grep tty
Code
Now we are done with the configuration needed to connect the display to the Ubidots cloud.
- Create a python file named “display.py”.
nano display.py
- Copy and paste the code (we are almost finished, don’t worry =D).
import requests
import binascii
import serial
with serial.Serial('/dev/ttyAMA0', 9600, timeout=10) as ser:
while True:
    ser.flush()
    respuesta = binascii.hexlify(ser.read(4))
    if respuesta == "01000000":
        r = requests.post('http://things.ubidots.com/api/v1.6/devices/DEVICE_LABEL/VARIABLE_LABEL/values?token=TOKEN', data = {'value':1})
    if respuesta == "00000000":
        r = requests.post('http://things.ubidots.com/api/v1.6/devices/DEVICE_LABEL/VARIABLE_LABEL/values?token=TOKEN', data = {'value':0})
- Change the TOKEN, the variable label and the device label to match your device and the variable you want to control using the button.
- Save and exit.
- Run the python script and you are done.
sudo python display.py
Great job! You should now be able to control a Ubidots variable remotely from your Nextion display:
Feel free to share your results in our IoT developers community to get furtherinputs or help!